Create a group
Groups are where the rest of Latte happens — chat channels, shared events, links, polls, and discussions all live inside a group. You can make one for a Class, a Project team, a Family, a Study session, or just a Group of friends.
- 🖥 Web
- 📱 Mobile
-
Open Groups. Your groups are listed down the left rail, sorted into sections by type.
-
In the section for the kind of group you want, click its create button — Create a new group, Create a class, Start a project, or Organize a study session.
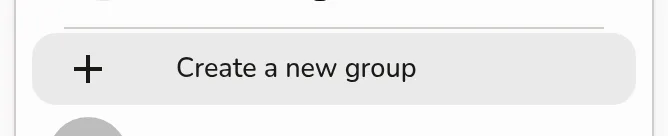
The top of the Groups rail: the Explore your school's groups entry above the single Create a group row that opens the group-creation dialog -
On the Name your group step, type a name (Latte suggests My group) and, if you like, add a Profile picture.
-
On the Choose the visibility step, pick who can join: On invites only (people need an invite or a link) or Anyone from the specified school (any student with a verified email from the school you choose).
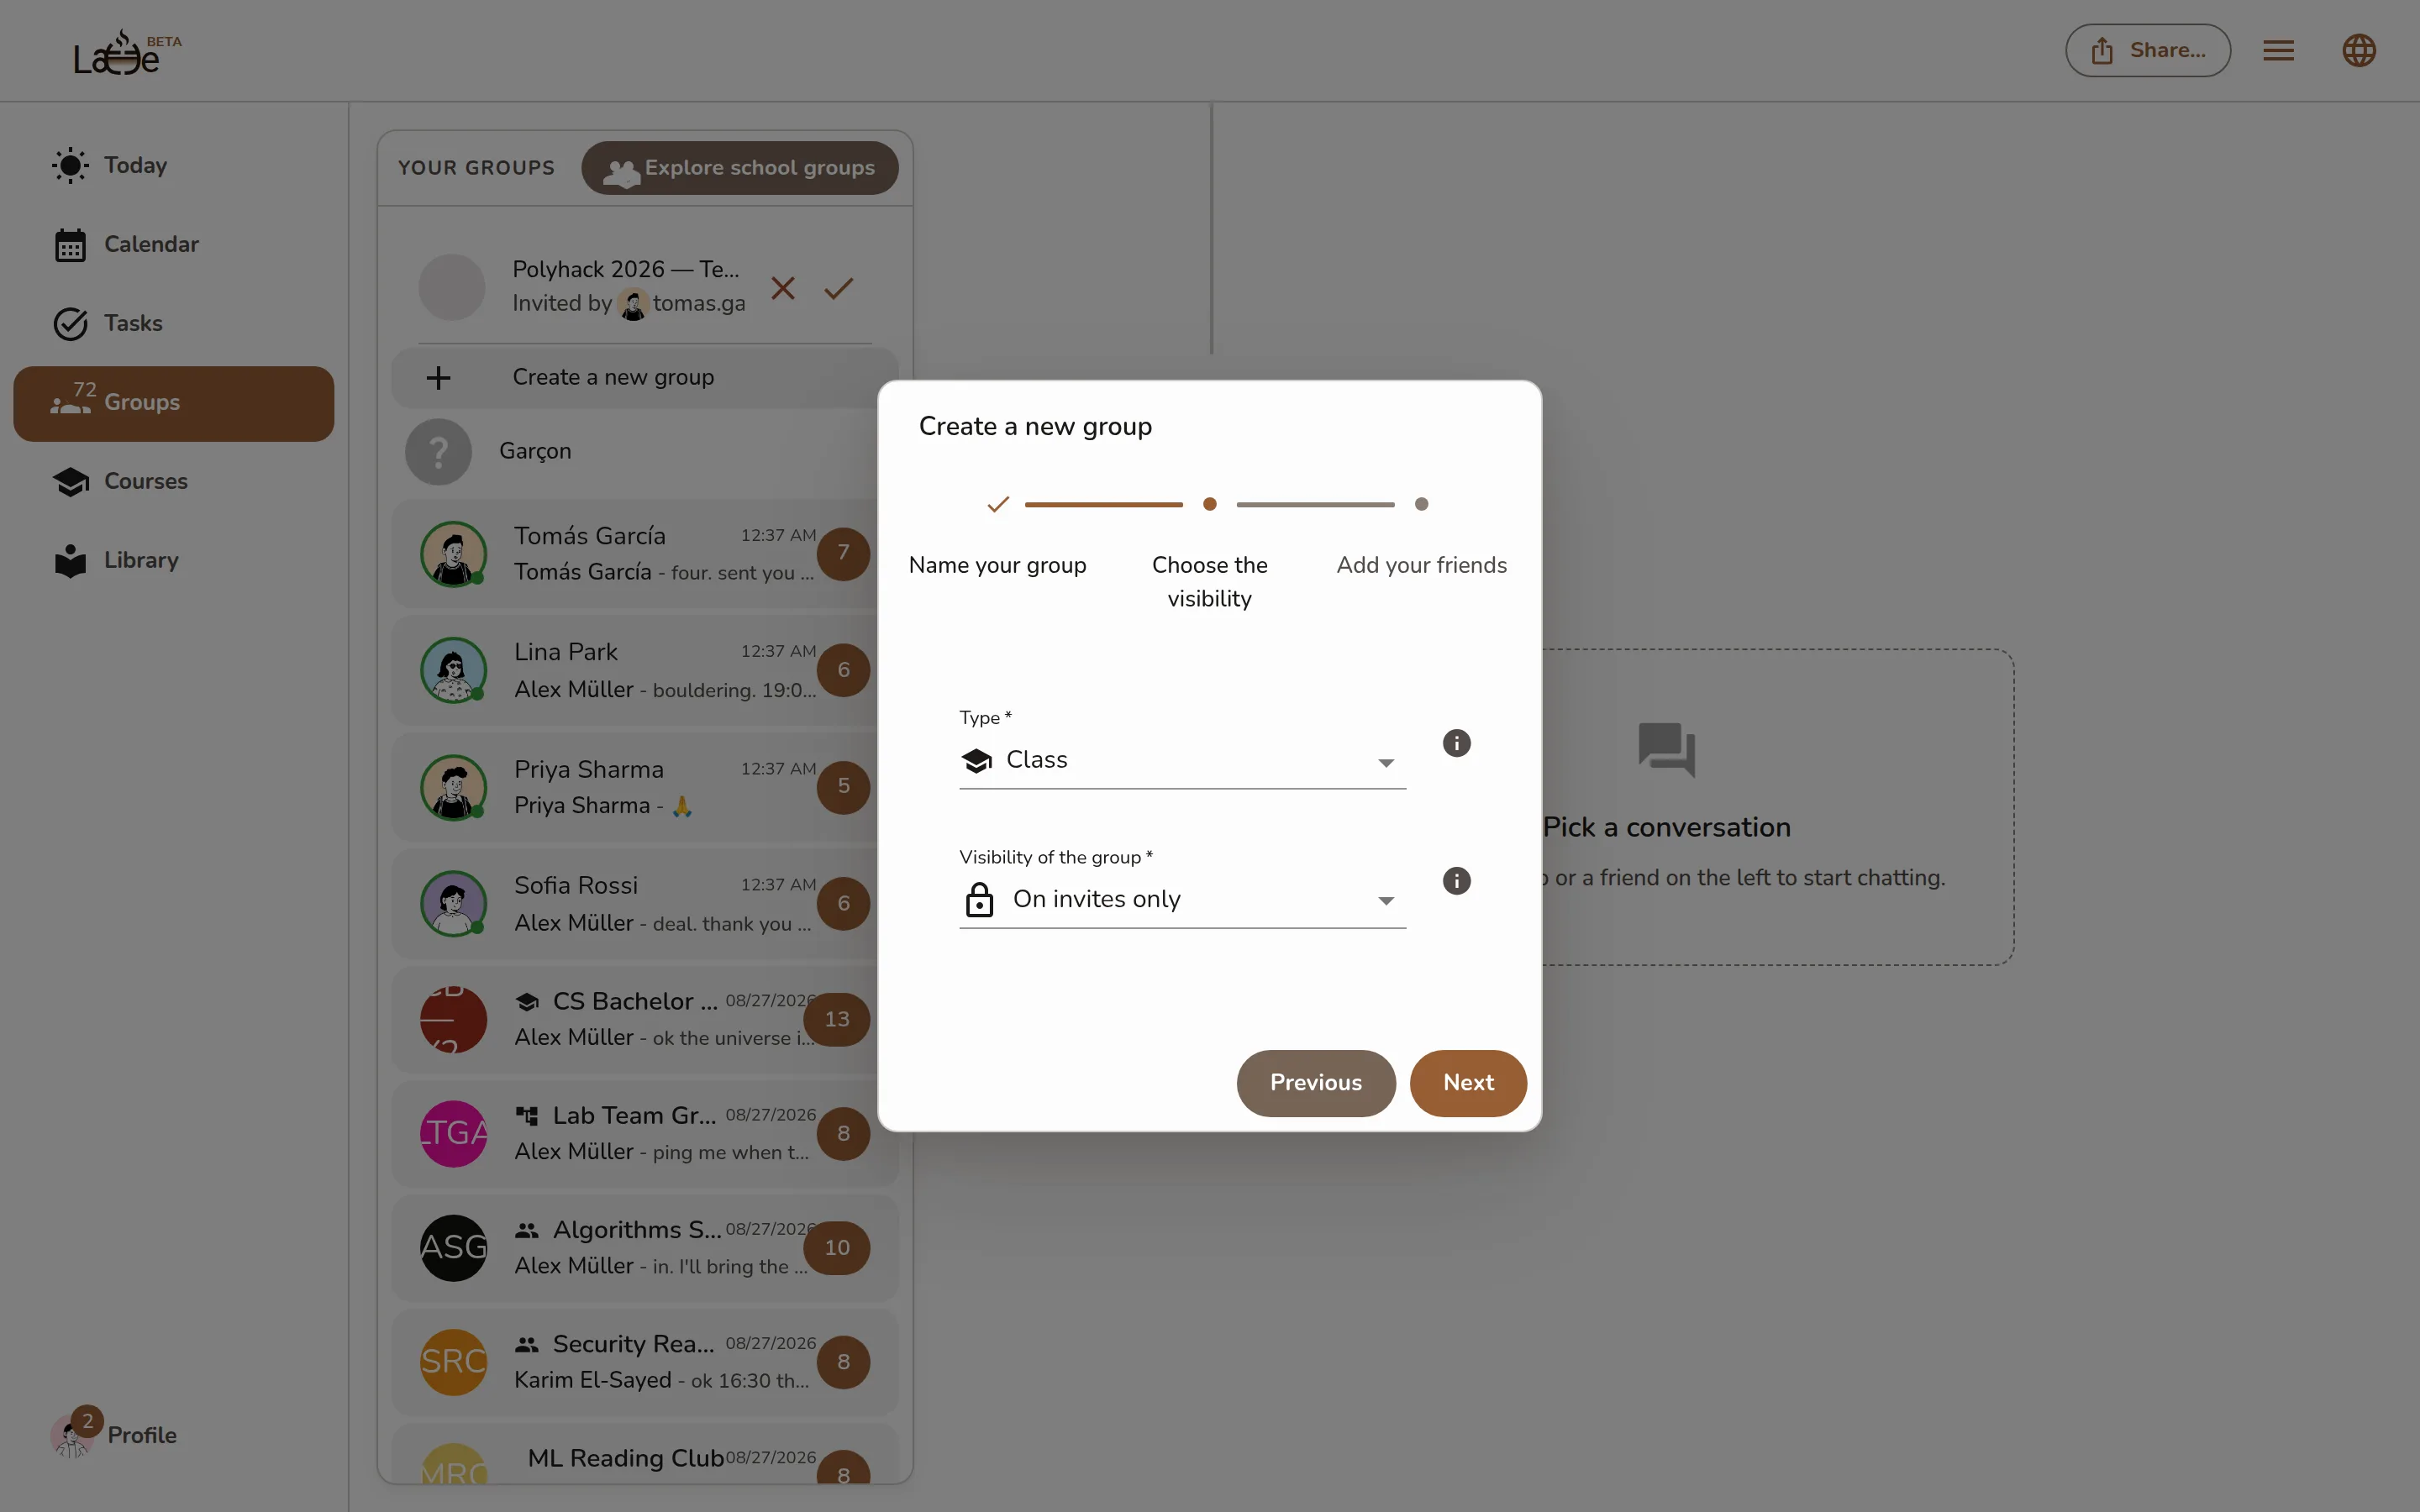
The group creation dialog on the Choose the visibility step, showing On invites only and Anyone from the specified school -
For a larger group, choose a channel template — Small, Medium, or Large — so Latte sets up channels that fit the group's size.
-
On the Add your friends step, tick any friends you want in from the start — you can always invite more later.
-
Confirm. Latte creates the group and drops you straight into it.
The desktop app uses the same group list and creation dialog.
-
Open the Groups tab, tap the + button, then Create a new group — the Create a new group screen opens.
-
Add a Profile picture if you like, then fill in the Name field.
-
Choose a Group type — Class, Project, Group, Family, or Study session.
-
Set the Visibility: On invites only or Anyone from the specified school.
Screenshot coming soonThe mobile Create a new group screen with the Name field, Group type, and Visibility -
Tap Confirm. The group opens once it's created.
A Class group must be tied to a course, so you'll be asked to pick one (or register for a new one) as you create it. The Anyone from the specified school visibility only appears once you've verified a school email — see Add and verify your school email.